Every mom looks forward to that first baby Halloween costume.
One day, Cillian will be old enough to understand Halloween – the one day a year where it is socially acceptable to be anyone or anything he wants to be. Some day he will beg to dress as his favorite character, animal, or food, and I will do everything in my power to accommodate him.
But for his first Halloween, I got to choose.
I wanted to choose something cute and innocent that would make his future girlfriend giggle and “awe” at him. Something that would make future C blush and tell me to put it away. I also wanted it to be something that would coordinate with a work-appropriate costume for me. And, of course, something I could do myself – quickly and easily!
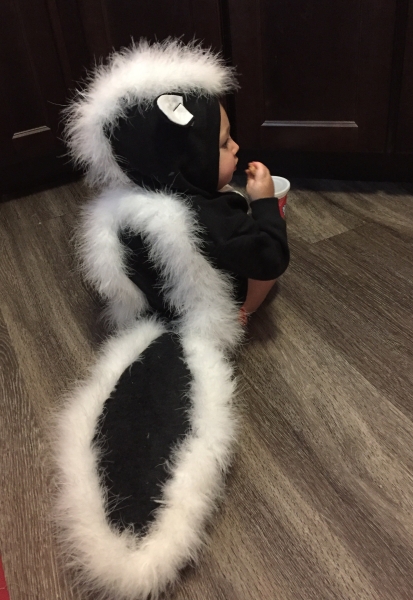
At eleven months old, Cillian was walking assisted, but on his own, he was only crawling at turbo speed. My husband actually stumble upon the most perfect idea only a week before Halloween and I just knew he needed to be a skunk!
I mean, how freaking cute it this?
After seeing how expensive, not to mention bulky and itchy, this particular baby Halloween costume was, I decided it could be DIY’d. With a few supplies, my hot glue gun, and completely basic sewing skills, I made it happen.
*This post contains affiliated links – while I might earn a commission, it will not change the cost to you.*
My supplies for this costume included:
- A black Zip Hoodie from Primary.com
- A white fur boa
- White felt
- Black felt
- A cut of fuzzy black costume material
The Fur
With my hot glue gun, I attached the boa from the top center of the hood down to the base of the hood and cut it off. I did not want the boa attached all the way down the back in one piece because I was worried about the movability of the costume. Plus, I wanted two stripes on the back.
Next, I started my remaining length of boa at the bottom of the hoodie a few inches off center and went up, across the shoulders, and back down. This eliminated accidentally cutting the pieces uneven or too short. My remaining boa was plenty long enough to do the edges of the tail.
The Front
For the front of the hoodie, I intended to do a big white oval as the belly, but since the hoodie had front patch pockets, I got creative with the shape. Babies need pockets for all their stuff and things, after all. I attached the outer edges of the felt using my hot glue, and cut it up the middle to allow the zipper to function before gluing down the rest.


The Ears
The ears were tricky and at first, looked like donkey ears. I had to Google Image search skunk ears to see that they were tiny and round. This was by far the trickiest part!
I cut my black felt into a kind of horseshoe shape (round but with one flat edge) and my white felt to match but slightly smaller to be the inside of the ear and glued the white onto the black. I cut a small slit from the flat side about a third of the way into the ear so I could bring the outer corners in to create a curved petal shape. This made the ears stand up when attached and made them look more life-like! I attached them to the hood using my handy dandy glue gun.
The Tail
For the tail, I wanted it to stick out and bounce when C crawled just like the GIF. I originally bent a hanger to create a frame for the tail, but nixed that idea because of the weight. Again, comfort is number one when it comes to a baby Halloween costume.


Using the fuzzy black fabric, I cut and sewed (with right sides together) an oblong shape that I deemed skunk-tail-shaped leaving one end opened. I turned the fabric right side out, and stuffed it with fabric scraps to give it fullness. The tail could also be made from the same black felt as the ears as long as the piece was big enough, and could be stuffed with tissue paper or plastic bags. I glued the remaining boa piece around the tail.
The Assembly
To attach the tail to the hoodie, I was very lazy. I could have sewn it on, but I was worried about the thickness of all the layers in my sewing machine. I decided instead to glue it in place. My husband shamed my inner-crafter for allowing this to happen.
In order to create the bounce of the tail, I attached it so that it would lay flat up his back and allowed it to fold over as it hung. I also used hot glue to seal the open end of the tail.


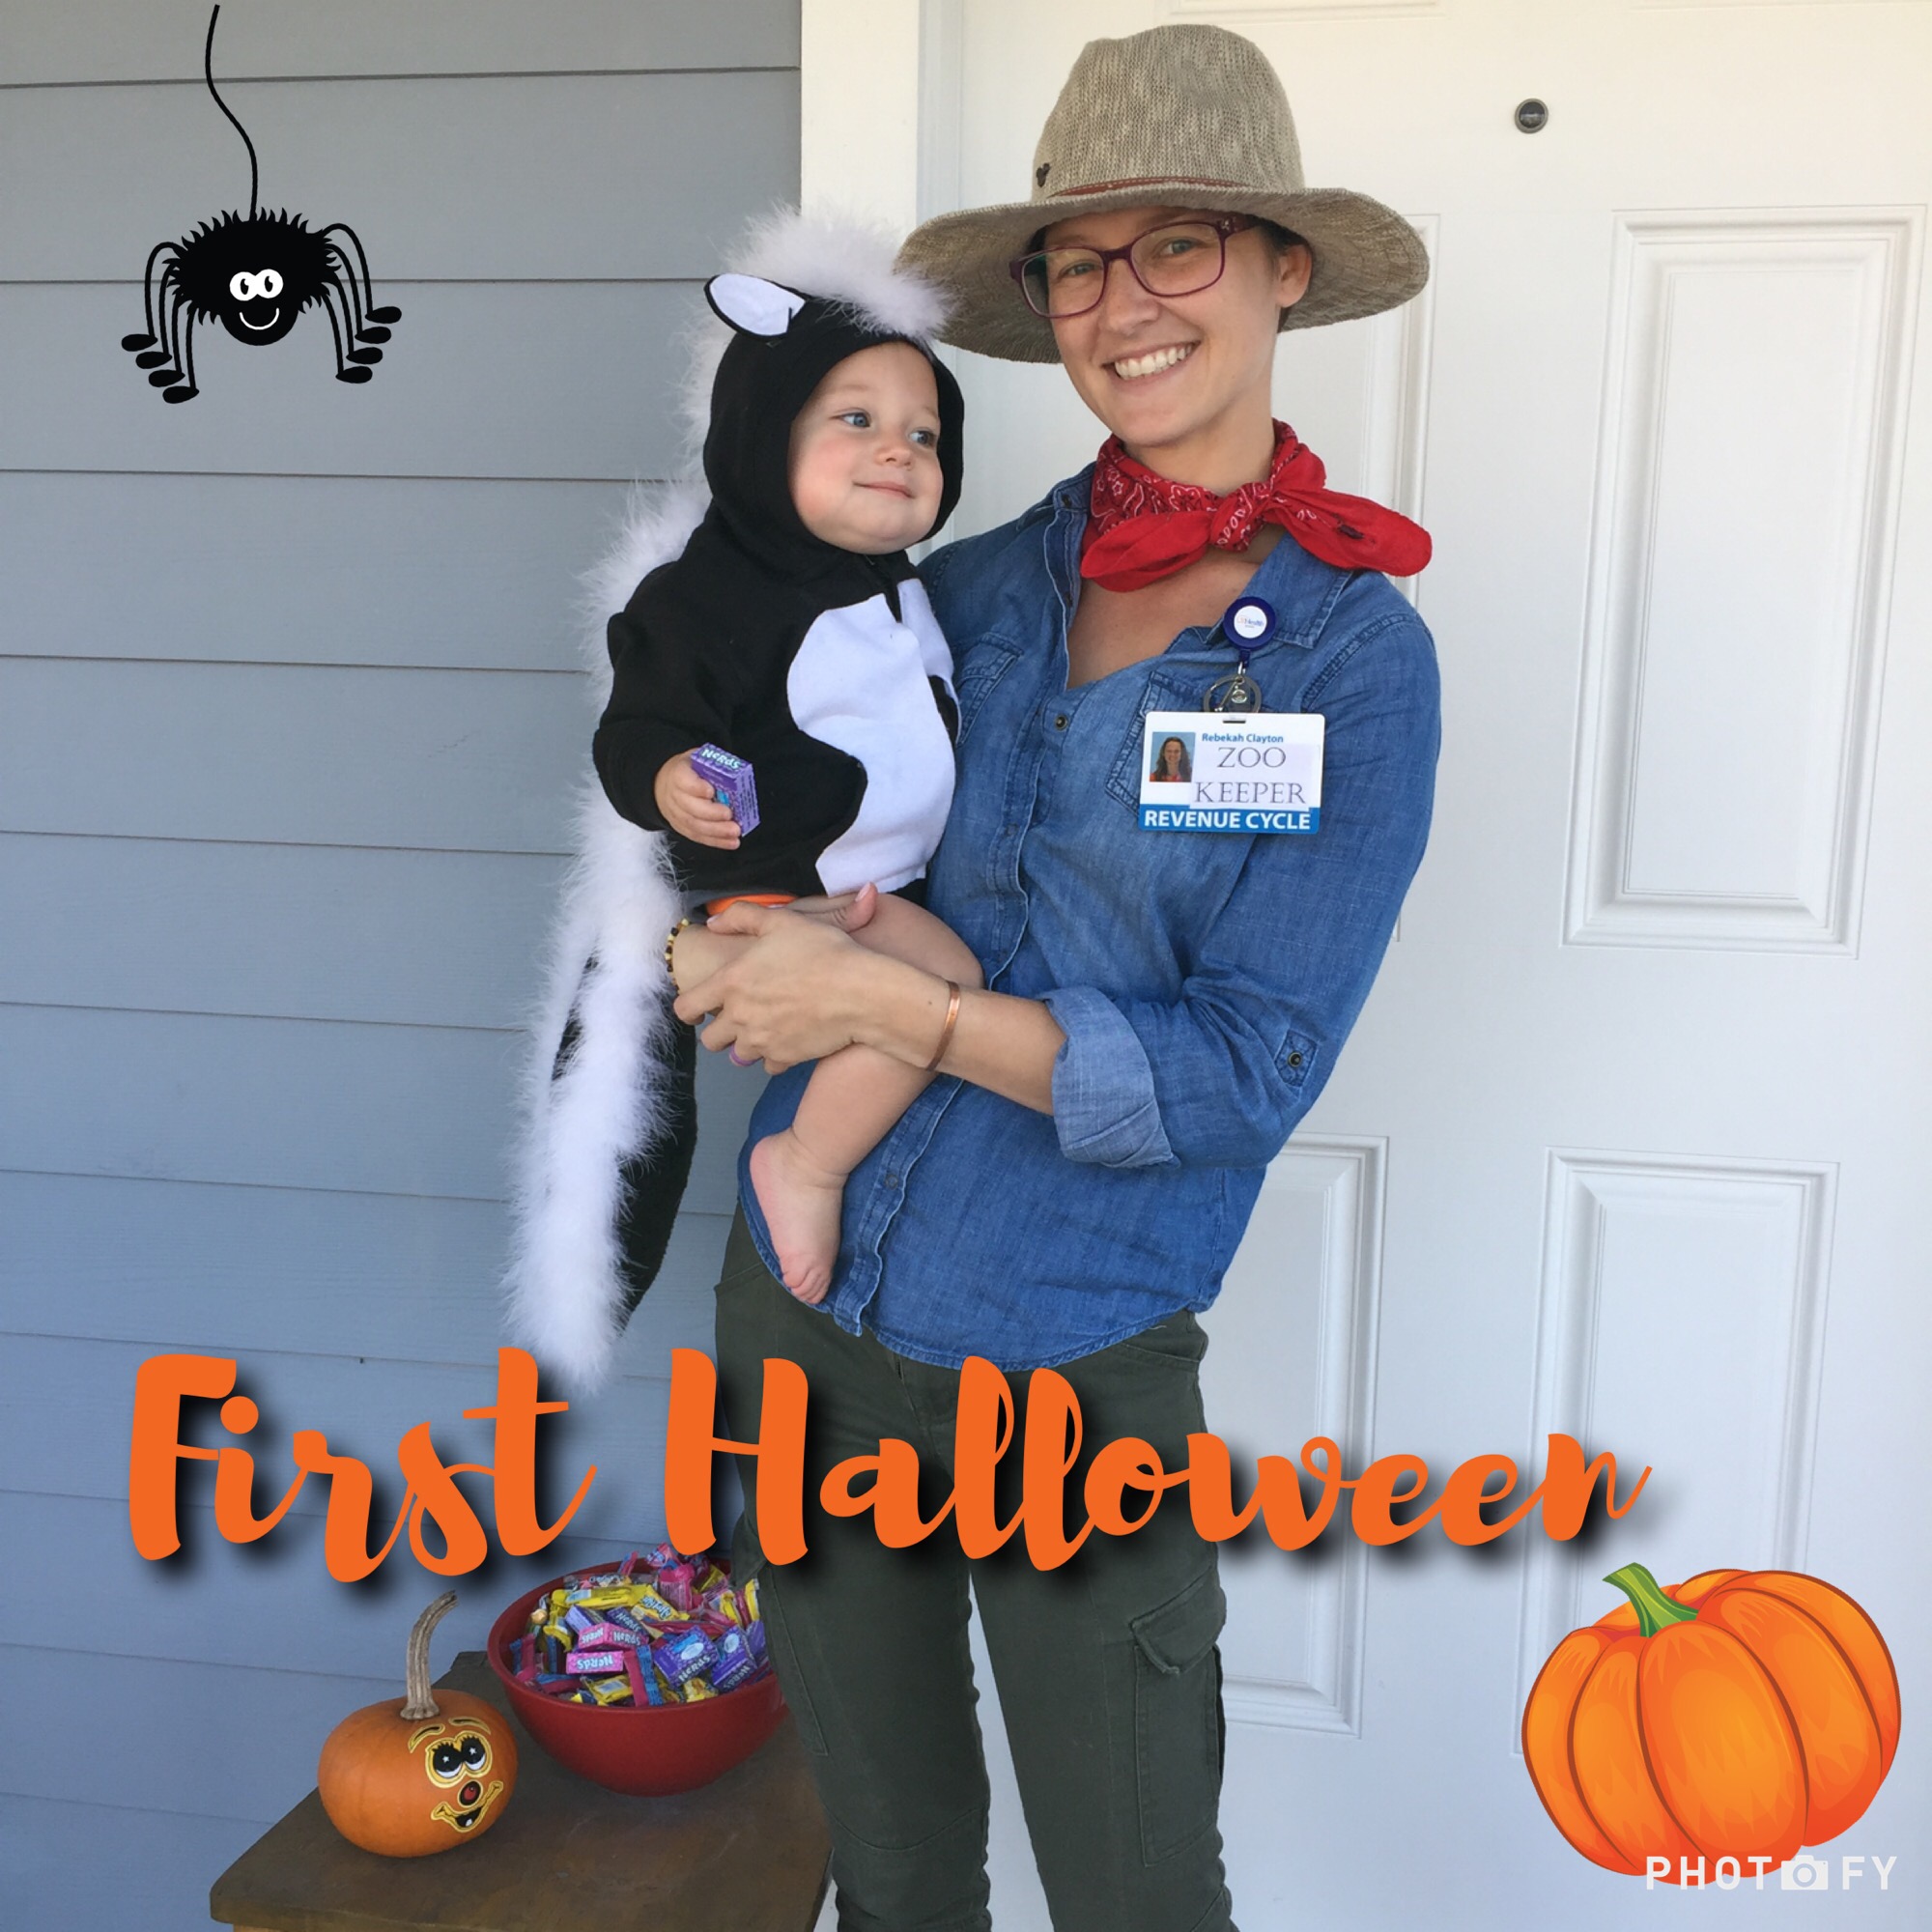
I wish I had pictures of the construction process to share, but since it was late and I was working by the light of the TV, that did not happen. But what did happen was I got a lot of compliments on C’s costume, and a lot of appropriate “wows” when I mentioned that I made it myself!
Let me know if you create this baby Halloween costume!
I’ve added all these products to my Amazon Store for your convenience!
XO Beka
If you liked this post, be sure to SHARE the love!


[…] For full instruction on this hoodie costume DIY, visit this post – DIY – Baby Halloween Costume […]